Disassemble Turbocharger
start by:
a) remove turbocharger
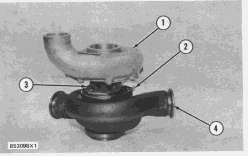
1. Make a mark on compressor housing (1), cartridge assembly (3) and the turbine housing (4) for correct installation.
2. Loosen clamp assembly (2). Remove compressor housing (1) and cartridge assembly (3) from the turbine housing.
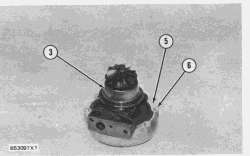
3. Remove bolts (6) and plates (5) that hold cartridge assembly in the compressor housing. Remove cartridge assembly (3).
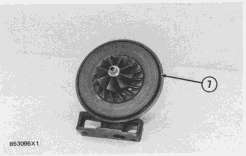
4. Remove O-ring seal (7) from the cartridge assembly.
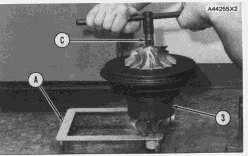
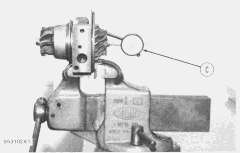
5. Put cartridge assembly (3) in position in tooling (A) and loosen nut on the compressor wheel with tooling (C).
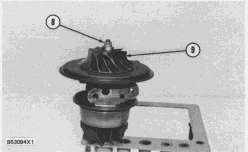
6. Remove nut (8) and the compressor wheel (9).
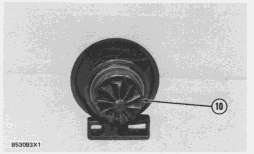
7. Remove shaft and wheel assembly (10) from the cartridge assembly.
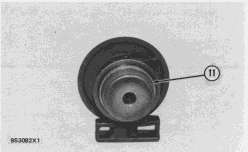
8. Remove shroud (11) from the cartridge assembly.
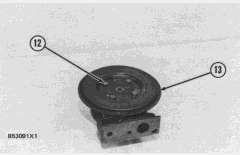
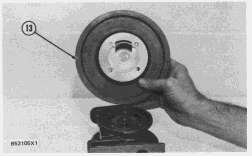
9. Remove four bolts (12) and then remove backplate (13) from the cartridge assembly.
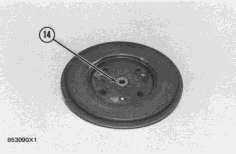
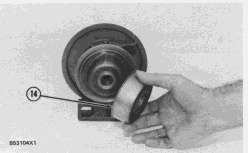
10. Remove spacer (14) from the backplate.
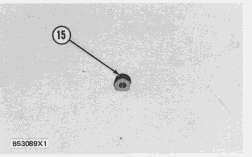
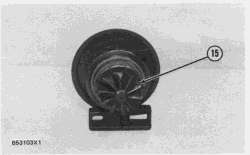
11. Remove two seal rings (15) from the spacer.
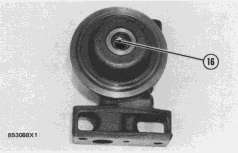
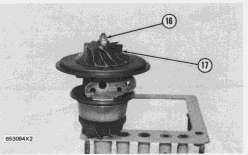
12. Remove snap ring (16) from cartridge housing with tool (B).
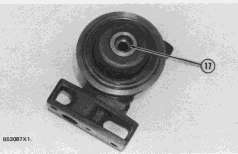
13. Remove bearing (17) and rings from the cartridge housing.
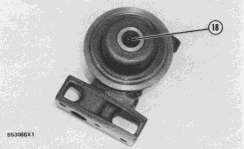
14. Remove snap ring (18) from cartridge housing with tool (B).
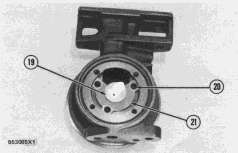
15. Turn the cartridge housing over and then remove screws (20), plate (21) and collar (19).
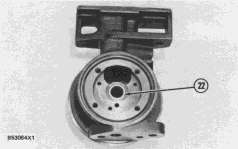
16. Remove bearing (22) from the cartridge housing.
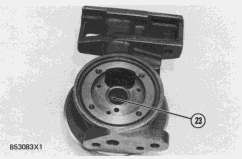
17. Remove snap ring (23) from the cartridge housing with tool (B).
Assemble Turbocharger
NOTE: Make sure all of the oil passages in the turbocharger cartridge housing are clean and free of dirt and foreign material. Put clean engine oil on all parts of the cartridge assembly.
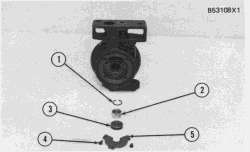
1. Install snap ring (1) in the cartridge housing with tool (A).
NOTE: Make sure the oil hole in plate (5) is open and clean to prevent a bearing failure.
2. Install bearing (2), collars (3), plate (5) and screws (4). Tighten the screws to a torque of 22 lb. in. (2.5 N·m).
NOTE: Install the rings that hold bearings in position with the round edges of the rings toward the bearings.
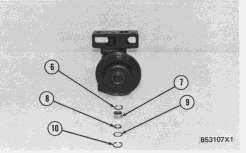
3. Turn the cartridge housing over. Install snap ring (6) in the cartridge housing with tool (A). Install bearing (7), ring (8) and ring (9) in the housing. Install snap ring (10) with tool (A).
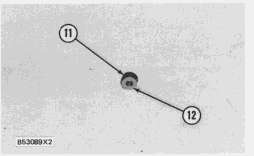
NOTE: Put 6V2055 High Vacuum Grease in the grooves for seal rings (11) at assembly to one half or more of the depth of the groove all the way around the grooves.
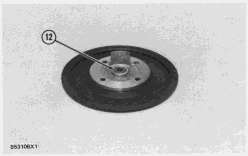
4. Install seal rings (11) on spacer (12).
5. Install spacer (12) in the backplate.
6. Put the backplate (13) in position on the cartridge housing and install the bolts that hold it. Tighten the bolts to a torque of 84 lb. in. (9.5 N·m).
7. Put the shroud (14) in position on the cartridge housing.
8. Install shaft and wheel assembly (15) in the cartridge housing.
9. Put the cartridge assembly in position in tooling (B).
10. Put a small amount of oil on the wheel face that will be under the nut.
11. Put compressor wheel (17) in position on the shaft.
|
|
| NOTICE |
|---|
|
Do not put a side force on the shaft when the nut is tightened. |
|
|
12. Install nut (16) and tighten it to a torque of 35 lb. in. (4 N·m). Tighten the nut 120° more.
13. Put the cartridge assembly in a vise. Use tool group (C) to check end play. The end play must be .0020 to .0032 in. (0.051 to 0.081 mm).
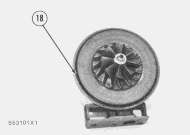
14. Put a small amount of oil on O-ring seal (18) and then install it on the cartridge housing.
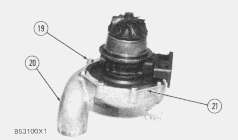
15. Put the cartridge housing on the compressor housing (20) and install the plates (21) and bolts (19).
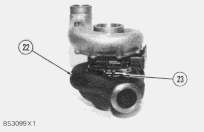
16. Put the turbine housing (22) in position on the cartridge housing and install the clamp (23) that hold it. Tighten the clamp to a torque of 124 ± 9 lb. in. (14 ± 1 N·m).
end by:
a) install turbocharger

